I got this recipe from a fellow tired baker, my sister, Isabella (and she got it from a cookbook called Baked, by Matt Lewis and Renato Poliafito), and I made it for Thanksgiving! It was supremely delicious and very chocolately.
Crust
- 30 chocolate wafer cookies (about 6 oz.) <–or use 6 oz. graham crackers
- 1 Tbsp. sugar
- 6 Tbsp. unsalted butter, melted
Chocolate filling
- 1/2 c. sugar
- 3 Tbsp. chocolate malt Ovaltine (or sub unsweetened dark cocoa powder–I’m not sure I used 3 Tbsp. though I know I used this instead of Ovaltine)
- 1 tsp. salt
- 1/4 c. cornstarch
- 5 large egg yolks
- 2 c. whole milk
- 1/2 c. heavy cream
- 5 oz. dark chocolate (60-72% cacao), coarsely chopped
- 2 oz. milk chocolate, coarsely chopped
- 2 tsp whiskey
- 1 tsp. vanilla extract
To serve
whipped cream or vanilla bean whipped cream
Make cookie crust
In a food processor, grind the cookies to a very fine powder. You should have about 1 1/2 cups. Put the crumbs in a a bowl and stir in the sugar.
Pour the butter over the crumb mixture and mix until well combined. The mixture will feel wet. Turn the crumb mixture out into a 9-inch pie plate and press it into the bottom and up the sides. You can use the back of a large spoon to even out the crust.
Freeze the crust while you make the filling.
In a medium saucepan, whisk together the sugar, Ovaltine, salt, and cornstarch. Add the egg yolks and whisk until combined. The mixture will look like a thick paste. Slowly pour in the milk and cream, whisking constantly.
Bring to a boil over medium heat, whisking constantly to prevent the mixture from burning on the bottom of the pan. boil for 30 seconds, then remove from the heat.
Add the chocolates, whiskey, and vanilla and whisk until combined. Continue to whisk for a few minutes to cool the mixture slightly. Let the mixture stand for 15 minutes at room temperature. A thin skin may form during this cooling period. Simply whisk the mixture again until the skin is gone. Pour the filling into the frozen pie shell.
Refrigerate the pie for 4 hours before serving,, topped with whipped cream, if desired.
Simple Vanilla Bean Whipped Cream
- 2 cups heavy cream
- 1 vanilla bean
- 1/4 c. sugar
Pour the cream into a medium bowl or a large glass measuring cup.
Cut the vanilla bean in half lengthwise and, using the tip of the knife or a small teaspoon, scrape the sees into the cream. Add the vanilla bean to the ream. Use a whisk to disperse the vanilla bean seeds. Cover the mixture and refrigerate for about 1 hour to allow the vanilla flavor to infuse the cream.
Remove the cream from the the refrigerator and pour through a fine-mesh sieve (don’t use your brain!) into the chilled bowl of an electric mixer fitted with the chilled whisk attachment. Beat on medium speed for 1 minute. Continuing to mix, sprinkle the sugar over the cream, the turn the mixer to medium-high and beat until soft peaks form.
Serve immediately, or cover and refrigerate for up to 2 hours.
~
I needed to reduce time and effort spent on this pie, as I was making a lot of other pies and have limited energy, so I used pre-made pie crust. I spread the filling between two of them, as one was too small.
As per Isabella’s suggestions, I did not include whiskey, and I substituted cocoa powder instead of Ovaltine (which I would prefer anyway, as I don’t care for malt flavour). Also, I used 7 ounces semisweet chocolate instead of 5 ounces dark and 2 ounces milk. The result was a very smooth, dark chocolate pudding.
As for the whipped cream, I made it the way I usually do: with heavy whipping cream. I beat it until soft peaks formed, and then added granulated sugar and vanilla. I continued beating it until still peaks formed.
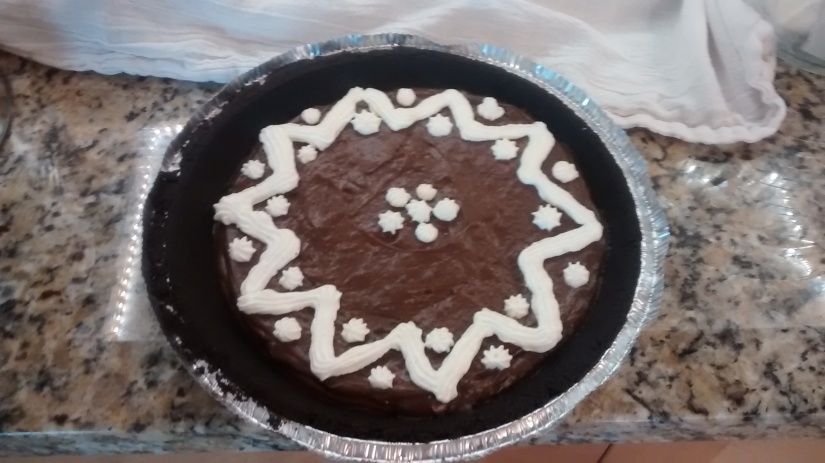
Usually I would slather a pie of this kind entirely with cream, but this time I decided to take my as-yet-unused cake decorating kit own for a spin.
I had fun! I’d never used a pastry bag before, but I look forward to doing it again. Thanks to Isabella for sharing the recipe with me!


